It’s the end of the week… and that means it’s time for another
I’ve got a few screen caps this week to hopefully help you see better what I did to this photo. Not as much needed really for this photo – especially compared to last week!
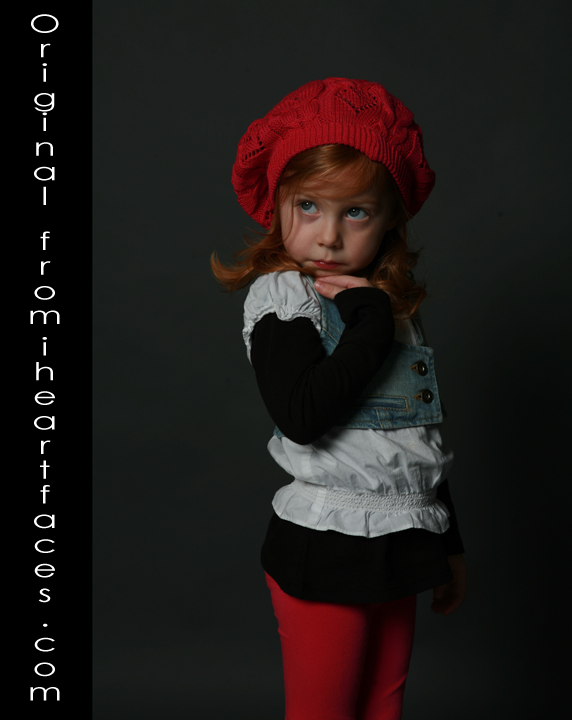
So you start out with the original photo – Again, starting by opening up in Photoshop (cs5).
Now comes the fun part, the editing:
1. Ran MCP Action from the ‘Quickie Collection’ – Exposure Fixer, layer opacity at 30% AND Fill Flash, layer opacity at 35%.
2. Flatten and Snapshot in the History Pallet. (I do this so I can toggle back and forth quickly after each step – especially if I didn’t like a particular effect). Here’s where that’s located for those that are wondering – “History, what!?” =) On the bottom of that menu there’s a little camera. Clicking that takes a snapshot.
3. Ran Florabella Action from the ‘Spring Set 1’ – Blossom. Opened it up and set opacity to 28% on Darken layer and 50% on Blossom layer.
4. Flatten and Snapshot from History Pallet.
5. Duplicate background layer, Command + J. Use the patch tool on this layer to remove the dust spots. I circled those in red in the screen capture so you could easily see what I was talking about. *note to the original photographer – you need to clean your sensor! lol!*
Here’s the after on the patching of the area under the eyes:
6. Flatten and Snapshot.
7. Command + J again, and this time patch the area under the eyes you saw circled on that red circle screen cap. Then layer opacity at 80%.
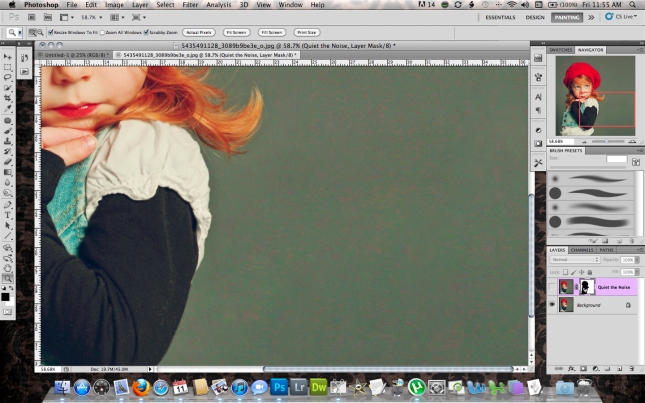
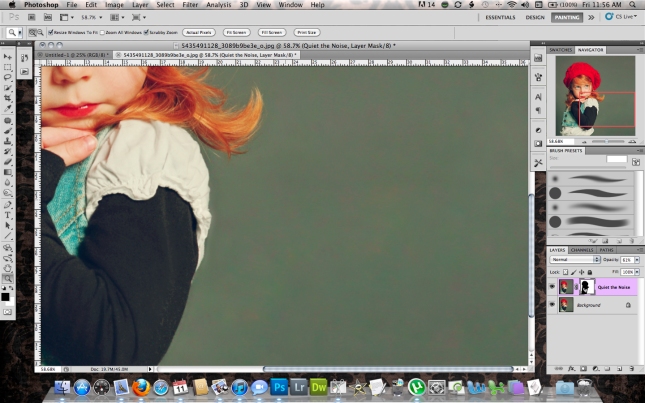
8. Ran MCP Action from the ‘All in the Details Set’ – Quiet the Noise. Masked in background w/100% opacity large brush for main part of background. Then went back closer to subject to refine the edge with 30% opacity smaller brush. Made sure to reverse that and unmask the subject fully. I didn’t want the effect on her. EXCEPT on her black sleeve. It was kinda noisy too… so I hit it a tiny bit with the 30% opacity brush. Below are two screen caps – to better see what effect this action had on the photo. Top is without the action, Bottom is with the action.
9. Flatten/Snapshot.
10. Ran MCP Action from the ‘All in the Details Set’ – Hi-Definition Sharpening. Layer at 60% opacity.
11. Ran MCP Action – Eye Doctor, to taste on eyes.
12. Flatten/Snapshot.
13. Ran MCP Action from the ‘Magic Skin Set’ – Powder your nose. To taste on face and hand. Overall layer opacity @ 59%.
14. Cropped and found that I would like it a little more squared off… so I added a little to the background. How I did this? Crop for the size/shape you want. Select area that’s new with the rectangular selection tool and hit delete. Make sure Content Aware is selected. It sucked for this particular photo. LOL. SO! Since my normal method didn’t work, I used the rectangular selection tool to grab a part of the background and then transformed (command + t) to fit the new crop. It looked a little wonky, so I grabbed the patch tool and cleaned it up to make it look right. It’s not perfect… but it’s better than what happened with content aware! lol!
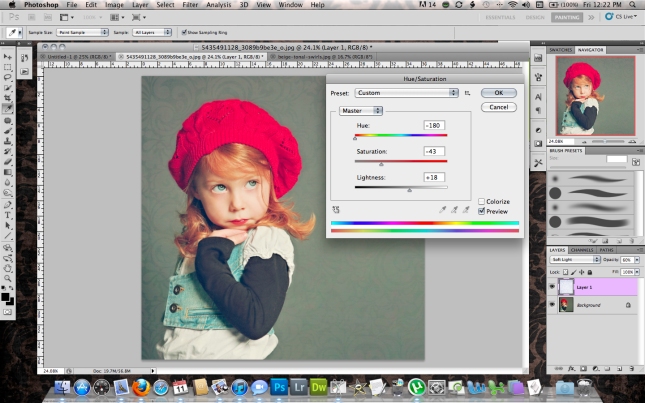
15. The VERY last thing I did was to throw a texture from Sassy on there… I went back over her skin with a 20% opacity brush to mask out that texture over her skin… but not too much. I liked the effect the color of the texture had on the photo. I did also tweak the color of the overlaid texture to better compliment the photo. Here’s a screen cap of what that looked like:
DONE! =) As usual, I’d really love to hear your thoughts on this blog post and the results of my editing! Please leave me a comment below! THANKS SO MUCH!
~Squeek!


